

HTML forms are a great way to collect information online and then store it in a database for future use. For the technically minded you can set a form up on a website / webpage and then, through some server-side scripting, e.g. PHP, save the captured information in a database and do with it what you will. At the same time as storing the information you can also trigger events, such as sending a confirmation or welcome email. But what about those that may not have the technical or time resources for such a web development project?
Well, our emailing platform has the perfect solution – an in-built Form tool that can implement either a sign-up form or an opt-out form within the platform that links to a workflow that can trigger any series of events you want and capture all the information within a list stored in the system. All you need to do is follow these three easy steps:
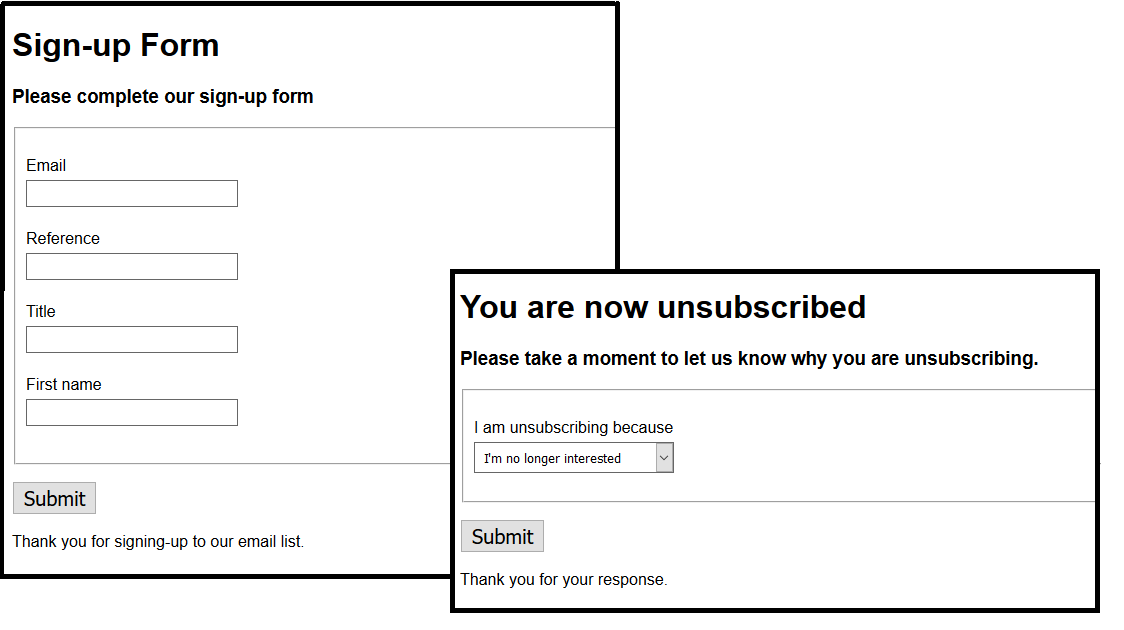
Step 1 – Design the form
If you are confident in designing your own form, then great, but if not there are downloadable examples from our platform to get you on your way. We are of course also on hand to assist with any design requirements.
One rule, however, is that you must include the following so the platform can work out where to store the data within its internal database and what to show the end user after they have submitted:
- The area within your HTML where the form lives must be enclosed by
<div id="REQUEST_SECTION"></div> - Your form must have the name DATA_FORM e.g.
<form id="DATA_FORM"> - The name of each input field must match the name of the field within our platform i.e. to capture the email the name of the field must be contacts_email_address e.g.
<input class="required" name="contacts_email_address" type="email" /> - You can also include a section in the HTML with the response you would like to give to the user e.g.
<div id="RESPONSE_SECTION">Thank you for filling out our form.</div>which will only become visible to the user after they have clicked.
Step 2 – Set up the workflow
The workflow will tell our platform what to do when someone submits the form. You have many options such as adding the email address and extra information to a list within the platform so you can capture the data and perhaps use it later as well as triggering an email or a series of emails with delays and criteria such as only sending another email to non-openers. Also, you can get even smarter and include tick boxes on your which allows you to create emails that are more relevant to the end user based upon what they selected.
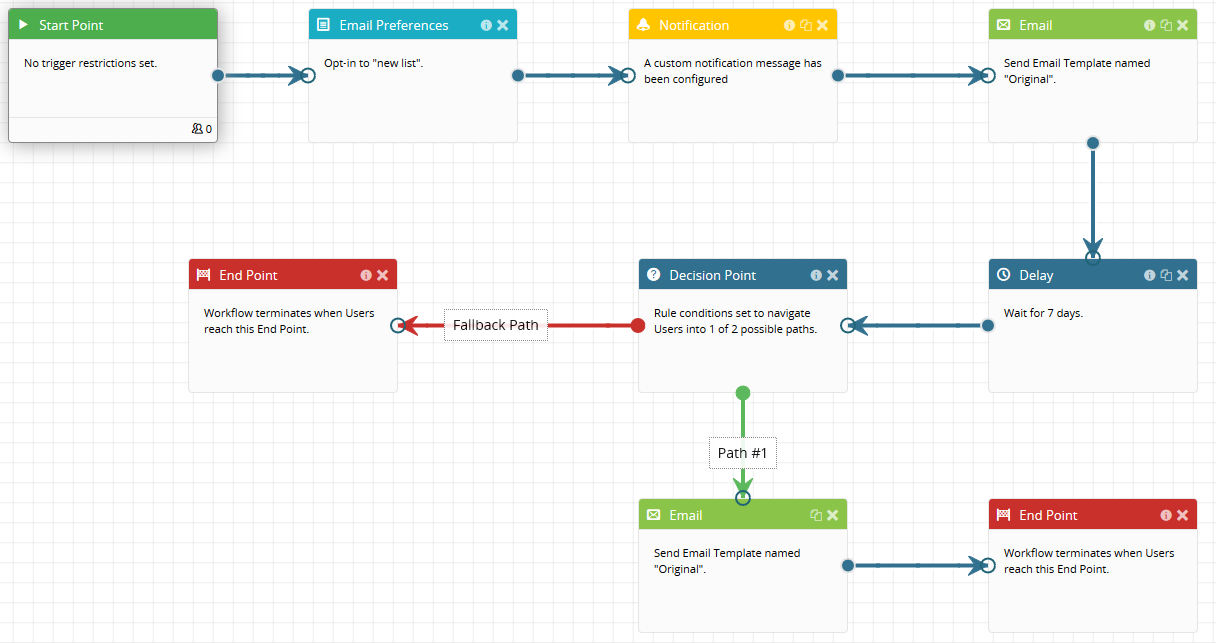
This workflow captures the data in the list “new list”, sends an internal notification email, triggers an email template, waits 7 days and then either ends if the user has already opened or sends the email template again if not and then ends.
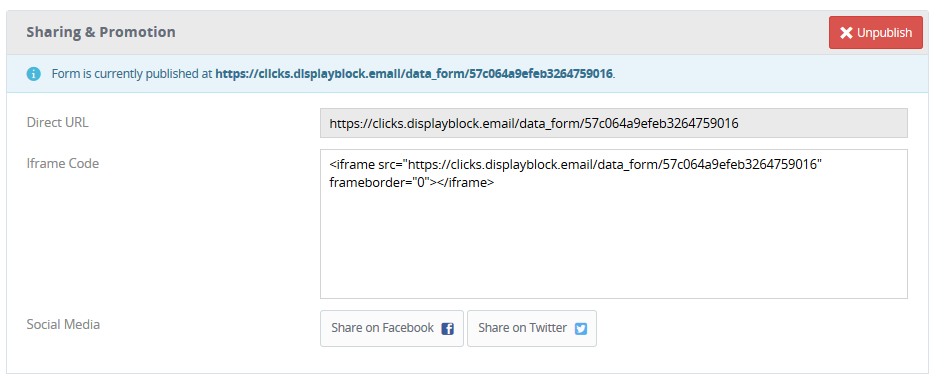
Step 3 – Host the form
The form will be hosted within our platform so once you’ve uploaded it you will be given a usable URL. This can be embedded into a website or HTML page by using an iframe if you do not wish to use the provided URL and you can share it on the social media sites Facebook and Twitter.
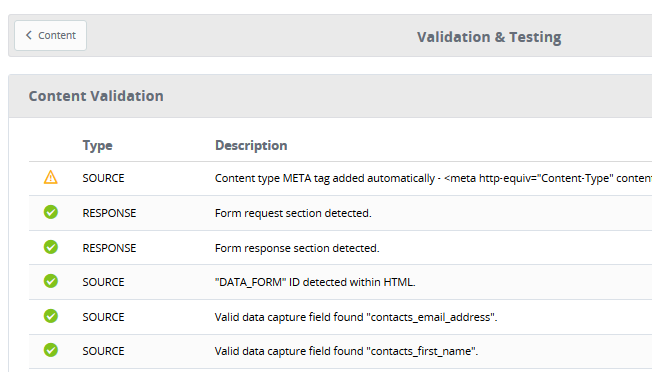
Upon hosting, our platform will also run checks on the HTML and flag any issues that may need correcting before allowing you to continue and give you the opportunity to enter test data to check it is working as it should before you publish and activate the URL.
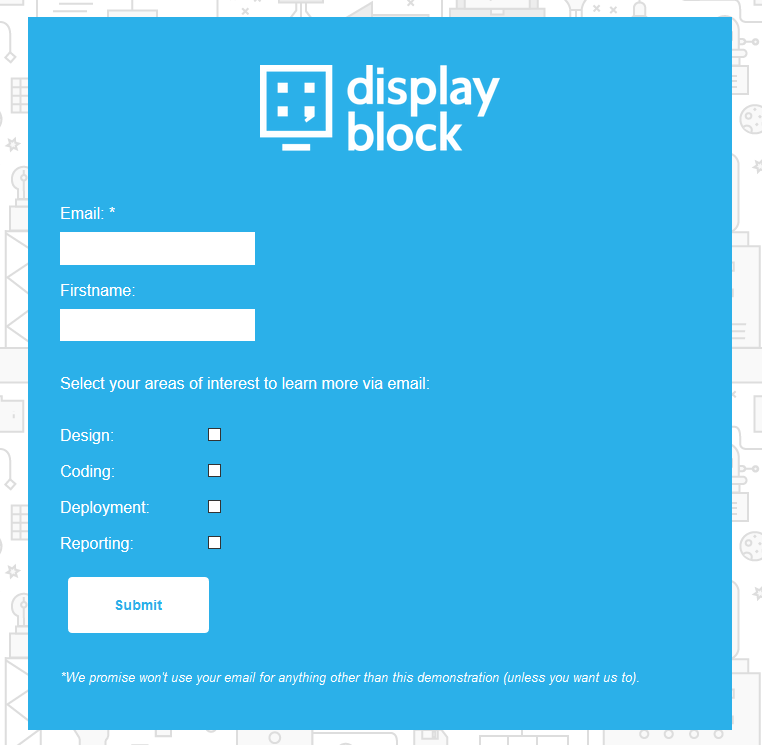
See it in action
If you want to see a simple form in action that will take just a few seconds to fill out and then trigger an email after submission, here’s one we made earlier.
So, for those that don’t have the time or technical resources, whether it be you want to sign people up for your newsletter or send them an instant message for a dynamic customer experience you can get the full effect from this simple three step process.